Welcome the festive season with these utterly adorable Mini Christmas Cheesecakes! This recipe brings joy and deliciousness to any holiday gathering. Featuring a rich chocolate cookie crust, a creamy eggnog filling, and a delightful Santa hat topping, these individual treats are a showstopper. They’re simple to make, perfect for beginners, and guarantee a fantastic dessert experience.
Table of Contents
Why You’ll Love These Mini Christmas Cheesecakes
You’ll adore these charming Mini Christmas Cheesecakes for many reasons, making them your new go-to holiday dessert. Victoria Taylor’s recipe ensures these individual portions are simple to prepare and truly unforgettable.
- Individual Portions: No fuss with slicing or serving; each guest gets their own perfect cheesecake.
- Ideal for Entertaining: These mini cheesecakes are elegant and easy to manage, making them wonderful for parties.
- Festive Flavors: Enjoy the irresistible combination of rich chocolate and spiced eggnog.
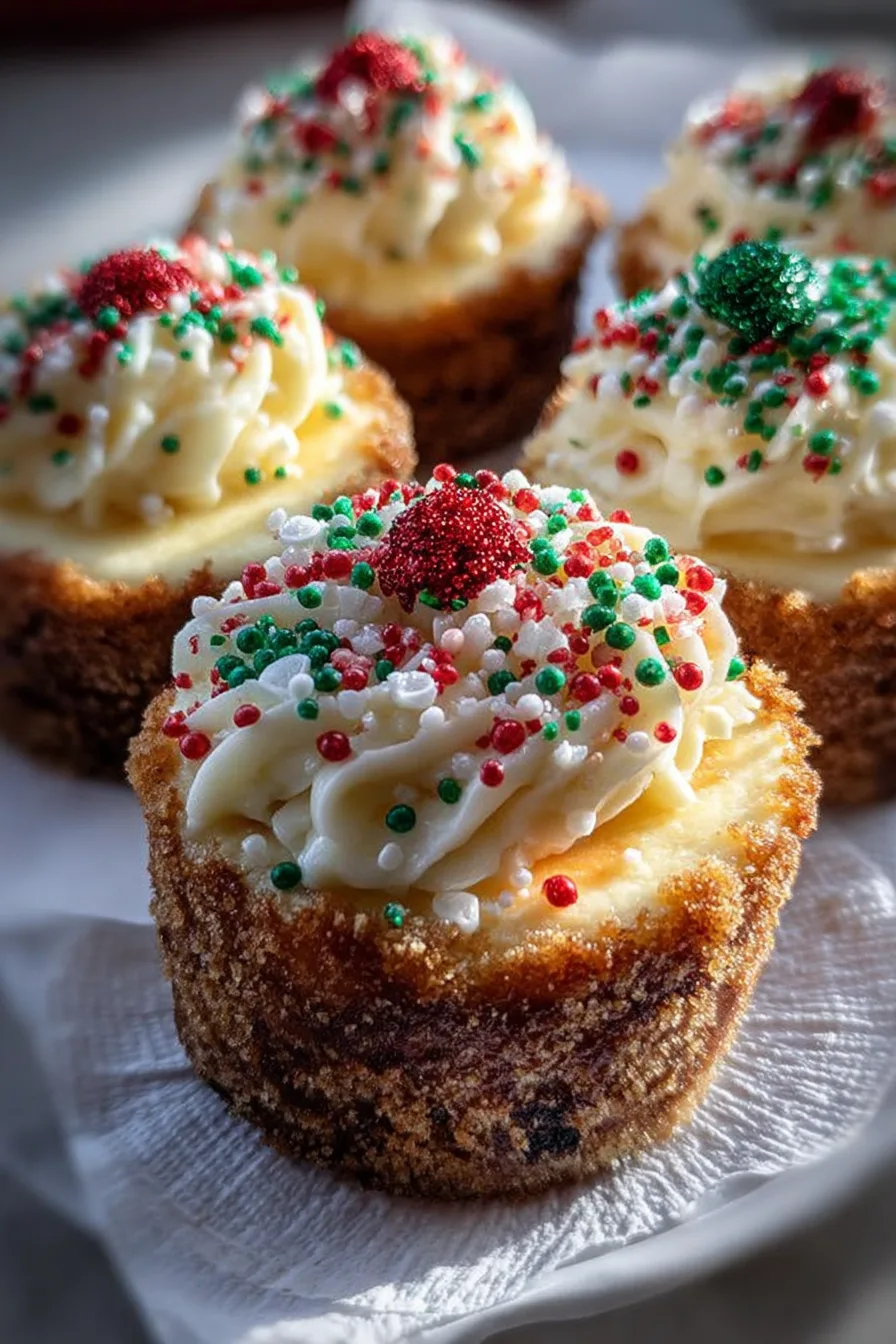
- Visually Stunning: Topped with fresh strawberries and whipped cream, they look just like Santa hats.
- Make Ahead: Prepare them in advance to enjoy a stress-free holiday celebration.
Ingredients
Gather your ingredients for these delightful Mini Christmas Cheesecakes. Using high-quality components ensures the best flavor and texture for your festive treats.
- For the Chocolate Cookie Crust:
- 10 Chocolate sandwich cookies (see note)
- 2 Tbsp unsalted butter, melted
- 1/2 Tbsp granulated sugar
- For the Eggnog Cheesecake Filling:
- 12 oz cream cheese, softened
- 1/2 C granulated sugar
- 1/2 C eggnog
- 1 Tbsp all-purpose flour
- 1/2 tsp vanilla extract
- 1/4 tsp salt
- 1 large egg
- For the Santa Hat Topping:
- 1/2 C heavy cream
- 2 Tbsp powdered sugar
- 12 Fresh strawberries, hulled
- Optional: extra powdered sugar for dusting
Notes & Substitutions
For the chocolate cookies, use classic Oreos; just remove the cream filling before blending, or opt for a similar store-bought chocolate wafer cookie. If you don’t have eggnog, you can substitute it with an equal amount of heavy cream or milk, adding a pinch of nutmeg for a similar holiday spice. Always use full-fat cream cheese for the richest, creamiest texture. You can use store-bought whipped cream in a can if you’re short on time, but homemade yields the best flavor and stability for your Santa hats.
Equipment
Having the right tools makes baking these charming Mini Christmas Cheesecakes a breeze. You likely have most of these items already in your kitchen.
- Mini cheesecake pan (with removable bottoms)
- Food processor
- Small cookie scoop
- Stand mixer or hand mixer
- Medium cookie scoop
- Wire rack
- Piping bag and star tip (optional, for whipped cream)
Instructions
Follow these simple steps to create your delicious Mini Christmas Cheesecakes. This recipe is designed to be beginner-friendly, ensuring a smooth baking process and perfect results.
- Prepare Crust: Preheat your oven to 350°F. Lightly grease a mini cheesecake pan. In a food processor, blend the chocolate sandwich cookies until only fine crumbs remain. Combine these crumbs with the melted butter and granulated sugar in a small bowl. Divide the mixture evenly among the prepared cheesecake cavities, adding 1 small cookie scoop of crust mixture to each. Press down firmly with the back of a spoon or a small glass to create an even, compact layer. Bake for 5 minutes.
- Make Cheesecake Filling: Reduce your oven temperature to 325°F. In a large bowl or the bowl of a stand mixer, beat together the softened cream cheese and granulated sugar until the mixture is fluffy and completely smooth, with no lumps. With the mixer running on low speed, slowly add the eggnog, all-purpose flour, vanilla extract, and salt. Gradually increase the mixer speed, continuing to beat until all ingredients are well combined and the batter is smooth. Finally, add the large egg, mixing only until it is just combined and no streaks of egg yolk remain. Be careful not to overmix at this stage.
- Bake Cheesecakes: Divide the prepared cheesecake batter evenly between the warm, partially baked crusts in the mini cheesecake pan. Use a medium scoop, adding roughly 1 and 1/4 medium scoops or a generous heaping scoop to each cavity to ensure uniform portions. Bake for 15-18 minutes, or until the edges of the cheesecakes are set and the centers have only a slight jiggle when gently nudged. Do not overbake.
- Cool & Chill Cheesecakes: Once baked, remove the pan from the oven. Allow the Mini Christmas Cheesecakes to sit in the pan on a wire rack until they cool completely to room temperature. This gradual cooling helps prevent cracks. Once at room temperature, transfer the entire pan to the refrigerator to chill thoroughly overnight, or for at least 4-6 hours, until they are firm and cold.
- Prepare Whipped Cream: In a medium bowl, combine the heavy cream and powdered sugar. Using an electric mixer, beat the mixture on high speed until stiff peaks form. The whipped cream should hold its shape firmly. Cover the bowl and chill the whipped cream in the refrigerator until you are ready to assemble the cheesecakes.
- Assemble Santa Hats: Carefully remove the chilled Mini Christmas Cheesecakes from the pan, detaching the pan disc from the crust if your pan has removable bottoms. You can use a piping bag fitted with a star tip for a decorative look, or simply use a spoon to dollop a generous amount of whipped cream onto the center of each cheesecake. Place one hulled fresh strawberry on top of the whipped cream, pointy side up, to form the “hat.” Add a tiny dollop of whipped cream to the very tip of the strawberry for the “pom-pom.” For an extra festive touch, lightly sprinkle the assembled mini cheesecakes with additional powdered sugar, creating a beautiful snow-dusted appearance. Serve immediately or keep chilled until ready to enjoy.
Pro Tips & Troubleshooting
Achieving perfect Mini Christmas Cheesecakes is easy with a few simple tricks. Always ensure your cream cheese and egg are at room temperature before mixing; this creates a smooth, lump-free batter. Avoid overmixing the cheesecake filling, especially after adding the egg, as this can incorporate too much air and lead to cracks.
To prevent cracks in cheesecakes, some baking experts recommend a gradual cooling process in the oven with the door slightly ajar.
To prevent cracks, don’t overbake; the cheesecakes should still have a slight wobble in the center when removed from the oven. Ensure your cheesecakes are fully chilled for several hours, or even overnight, before attempting to remove them from the pan or decorate, as this makes them firm and easier to handle. For stable whipped cream, use very cold heavy cream and a chilled bowl. Decorate your cheesecakes just before serving for the freshest look and texture.
Serving, Storage & Variations
These delightful Mini Christmas Cheesecakes are incredibly versatile and perfect for your holiday spread.
Serving Suggestions:
- Serve these charming individual desserts chilled, straight from the refrigerator.
- Pair them with a warm cup of coffee, rich hot cocoa, or your favorite festive holiday drink.
- Arrange them beautifully on a platter for an impressive dessert display at your party.
Storage Instructions:
- Store any leftover assembled cheesecakes in an airtight container in the refrigerator for up to 3-4 days.
- You can freeze the baked and cooled cheesecakes (without the whipped cream and strawberry topping) for up to 1 month. Wrap each cheesecake tightly in plastic wrap, then place them in an airtight container. Thaw overnight in the refrigerator before topping and serving.
Flavor Variations:
- Different Crusts: Experiment with vanilla wafers, gingersnap cookies, or even pretzel crumbs for a sweet and salty twist.
- Flavor Extracts: Add a touch of peppermint extract to the filling for a minty twist, or almond extract for a subtle nutty note.
- Garnishes: Beyond strawberries, consider garnishing with chocolate shavings, crushed candy canes, fresh raspberries, or a drizzle of caramel.
Nutrition Information
Enjoying these Mini Christmas Cheesecakes is a delicious way to celebrate. Here’s an estimated nutritional breakdown per serving.
| Nutrient | Amount |
|---|---|
| Calories | 256 kcal |
| Carbohydrates | 21 g |
| Protein | 4 g |
| Fat | 18 g |
| Saturated Fat | 10 g |
| Polyunsaturated Fat | 1 g |
| Monounsaturated Fat | 5 g |
| Trans Fat | 0.1 g |
| Cholesterol | 65 mg |
| Sodium | 190 mg |
| Potassium | 113 mg |
| Fiber | 1 g |
| Sugar | 17 g |
| Vitamin A | 628 IU |
| Vitamin C | 7 mg |
| Calcium | 55 mg |
| Iron | 1 mg |
Disclaimer: This nutrition information is an estimate based on the ingredients and preparation methods outlined. Actual values may vary depending on specific brands, ingredient variations, and portion sizes.
FAQ
Got questions about making these delightful Mini Christmas Cheesecakes? We have answers!
- Can I make these ahead of time? Absolutely! You can bake the cheesecakes up to 2-3 days in advance and store them chilled in the refrigerator. Just add the whipped cream and strawberry topping right before serving.
- What can I use instead of eggnog? If eggnog is unavailable or not to your taste, use an equal amount of heavy cream or whole milk. Add a pinch of nutmeg and cinnamon to the filling to mimic that classic holiday spice.
- Can I use a different type of cookie for the crust? Yes, feel free to get creative! Vanilla wafers, gingerbread cookies, or even graham crackers make excellent alternatives for the crust.
- How do I prevent cheesecake cracks? The key is not to overmix the batter, especially after adding the egg, and avoid overbaking. Cooling the cheesecakes slowly in the pan on a wire rack also helps reduce temperature shock.
- Are these suitable for freezing? Yes, the baked Mini Christmas Cheesecakes freeze beautifully without their toppings. Wrap them individually and store them for up to a month. Thaw in the refrigerator before decorating and serving.
Conclusion
These adorable Mini Christmas Cheesecakes are truly a festive delight, perfect for celebrating the holiday season. With their rich chocolate crust, creamy eggnog filling, and charming Santa hat topping, they bring joy to every bite. This beginner-friendly recipe ensures a smooth baking experience, making it a wonderful addition to any holiday table. We encourage you to try this fantastic recipe and share your beautiful creations with us. Please leave a review and let us know how your Mini Christmas Cheesecakes turned out!
Festive Mini Christmas Cheesecakes
Ingredients
Equipment
Method
- Preheat the oven to 350°F and lightly grease a mini cheesecake pan.
- Process cookies into fine crumbs, then combine with melted butter and sugar. Press this mixture into the bottom of each cheesecake cavity and bake for 5 minutes.
- Reduce the oven temperature to 325°F.
- In a large bowl, beat softened cream cheese and granulated sugar until fluffy and smooth. Slowly add eggnog, flour, vanilla, and salt on low speed, then increase speed until fully combined. Finally, mix in the large egg until no streaks remain.
- Divide the batter evenly among the cheesecake cavities and bake for 15-18 minutes, or until the cheesecakes are set.
- Allow the cheesecakes to cool completely in the pan on a wire rack at room temperature, then transfer them to the refrigerator to chill thoroughly, preferably overnight.
- In a medium bowl, beat heavy cream and powdered sugar until stiff peaks form; cover and chill until ready to use.
- Carefully remove the chilled cheesecakes from the pan. Top each with a dollop of whipped cream and a strawberry to resemble a Santa hat, and optionally dust with powdered sugar for a snow-like effect.