
Halloween brownies are decadent, fudgy chocolate squares decorated with festive themes to celebrate the spooky holiday season. These treats combine a rich cocoa base with vibrant orange, black, and purple garnishes that capture the spirit of October celebrations. Home bakers achieve professional results by focusing on high-quality dark chocolate and precise baking times for the perfect fudgy texture.
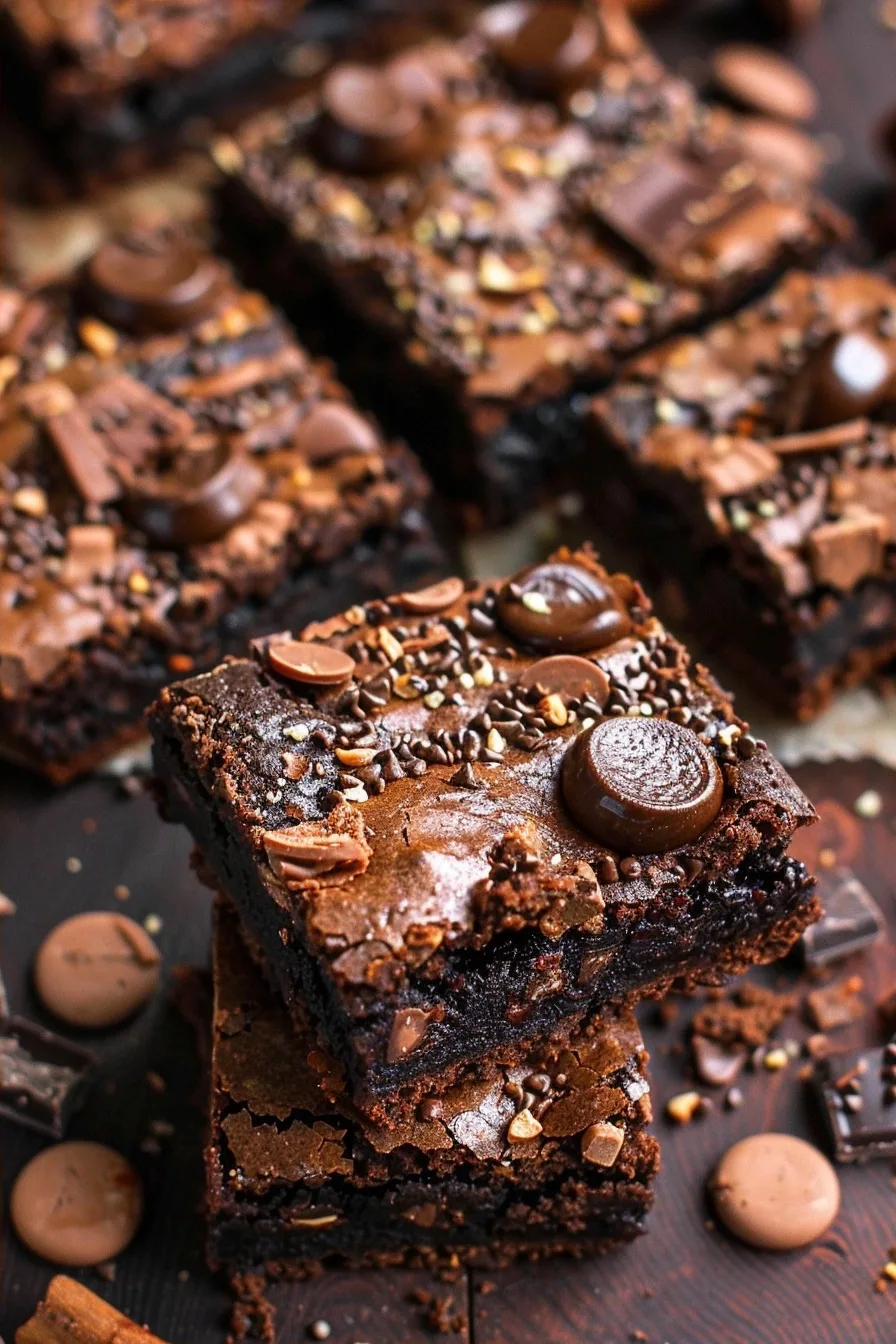
Recipe Overview
| Metric | Details |
|---|---|
| Prep Time | 20 minutes |
| Cook Time | 30 minutes |
| Total Time | 50 minutes |
| Servings | 16 squares |
| Difficulty | Easy |
| Cuisine | American Dessert |
Why This Recipe Works
This recipe works because it relies on a specific ratio of melted butter to oil, which ensures a moist crumb that stays soft for days. I developed this method after testing dozens of batches, realizing that using extra yolks creates a dense, chewy center that contrasts beautifully with a crisp, crackly top crust.
The secret lies in folding the dry ingredients into the wet mixture just until streaks disappear, preventing gluten development that leads to cakey brownies. By incorporating high-quality cocoa powder and bittersweet chocolate chunks, you achieve a deep flavor profile that satisfies even the most dedicated chocoholic. These brownies provide a reliable base for decorating, acting as the perfect canvas for your creative holiday designs.
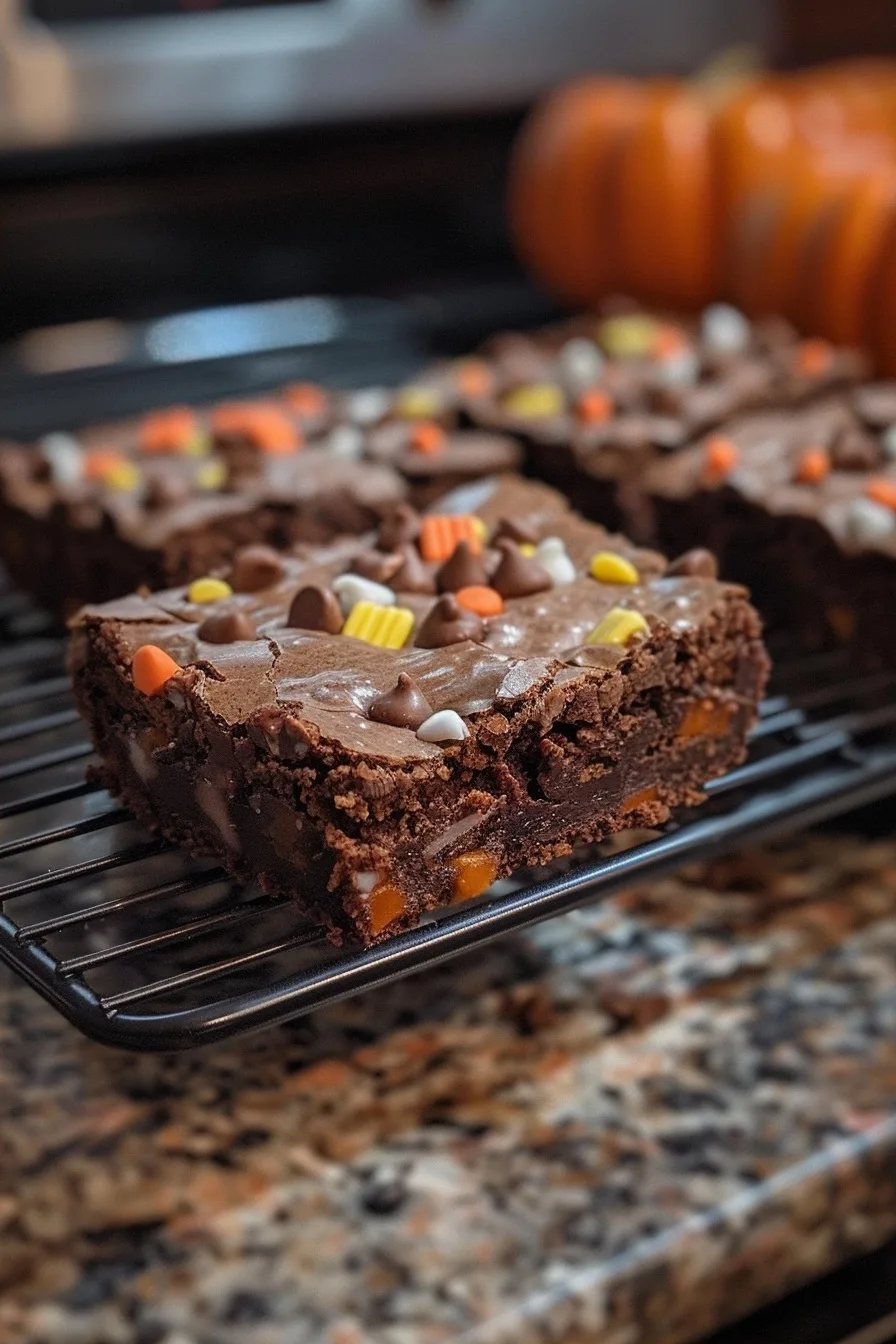
Ingredients
| Ingredient | Quantity | Notes |
| Unsalted Butter | 1 cup | Melted and cooled |
| Granulated Sugar | 2 cups | Substitute with cane sugar |
| Large Eggs | 4 | Room temperature |
| Vanilla Extract | 2 tsp | Pure extract preferred |
| All-Purpose Flour | 1 cup | Sift for best results |
| Dark Cocoa Powder | 0.75 cup | Dutch-processed recommended |
| Sea Salt | 0.5 tsp | Fine grain |
| Orange Candy Melts | 0.5 cup | For spiderweb designs |
Step-by-Step Instructions
Preparing the Batter
- Preheat your oven to 350 degrees Fahrenheit and line a 9×9 inch baking pan with parchment paper.
- Whisk the melted butter and granulated sugar in a large bowl until the mixture appears smooth and well-combined.
- Add the eggs one at a time, whisking thoroughly after each addition to create a stable emulsion.
- Stir in the vanilla extract until fully incorporated into the liquid base.
Mixing and Baking
- Sift the flour, cocoa powder, and salt together in a separate bowl to remove any large lumps.
- Fold the dry ingredients into the butter mixture using a rubber spatula until just combined.
- Pour the batter into the prepared baking pan, spreading it evenly into all four corners.
- Bake for 30 minutes or until a toothpick inserted into the center comes out with moist crumbs.
Decorating
- Cool the brownies completely on a wire rack before attempting any decorative work.
- Melt the candy wafers in a microwave-safe bowl using ten-second intervals to prevent scorching.
- Drizzle the melted candy across the brownie surface in circular or web patterns for a spooky effect.
Chef Tips for Perfect Results
- Use room temperature eggs to ensure the batter emulsifies properly and does not break the butter mixture.
- Tap the baking pan firmly on the counter once after removing it from the oven to deflate air pockets.
- Measure flour using the spoon-and-level method rather than scooping directly, as packing flour results in dry brownies.
- Check the brownies two minutes before the timer ends, as oven temperatures often vary significantly across different models.
- Let the brownies rest in the refrigerator for at least two hours for cleaner, sharp-edged slices.
Common Mistakes to Avoid
Overbaking is the most frequent mistake that ruins the desired fudgy texture, leading to dry and crumbly results. Fix this by removing the brownies when a few moist crumbs remain on your tester rather than waiting for a clean toothpick. Another error involves using hot melted butter, which can scramble the eggs when added too quickly. Always allow your butter to cool to room temperature before mixing to maintain the correct batter structure. Finally, avoid using low-quality cocoa powder, which leaves a bitter, chalky aftertaste that masks the chocolate notes. Choose high-fat cocoa brands for a smoother, more luxurious finish on every bite.
Variations and Substitutions
| Ingredient | Substitution | Impact on Flavor |
| Dark Cocoa | Dutch Process | Smoother, darker color |
| Granulated Sugar | Brown Sugar | Increased chewiness and moisture |
| Candy Melts | Dark Chocolate | Less vibrant, deeper flavor |
Serving Suggestions and Pairings
Serve these brownies at neighborhood Halloween block parties or as a centerpiece for your autumn dinner menu. They pair exceptionally well with a glass of warm apple cider or a scoop of homemade vanilla bean ice cream. For a more sophisticated presentation, serve alongside fresh raspberries to cut through the richness of the dark cocoa.
Storage and Reheating
| Method | Duration | Instructions |
| Countertop | 3 days | Store in an airtight container |
| Refrigerator | 7 days | Wrap tightly in plastic film |
| Freezer | 3 months | Freeze individual slices wrapped in foil |
Nutritional Information
Approximate values per serving.
| Nutrient | Amount per Serving |
| Calories | 280 kcal |
| Fat | 14g |
| Carbohydrates | 38g |
| Sugar | 26g |
| Protein | 3g |
Frequently Asked Questions
Can I make these Halloween brownies ahead of time?
You can prepare these brownies up to three days in advance if you store them in an airtight container at room temperature. For longer storage, keep them in the refrigerator to maintain freshness for up to one week.
How do I know when the brownies are done baking?
The brownies are done when a toothpick inserted into the center emerges with a few moist crumbs attached. If the toothpick comes out clean, you have overbaked them, resulting in a drier texture.
What is the best way to substitute gluten-free flour?
Use a high-quality 1-to-1 gluten-free baking flour blend that contains xanthan gum for the best structural results. This substitution generally does not change the flavor profile of your final product.
Why did my brownie top crack and fall apart?
The top can become fragile if you over-whisk the eggs or fail to cool the brownies completely before cutting. Always allow the brownies to set fully at room temperature or in the fridge before you slice them.
How do I achieve perfect uniform slices?
Use a sharp plastic knife to cut the brownies, as the blade prevents sticking and creates clean edges. Wipe the knife clean between each cut to ensure every piece looks professional and uniform.
Mastering these Halloween brownies ensures a memorable treat for every spooky celebration this October. By following these precise techniques, you consistently achieve the fudgy, rich results that define a professional bake. Experiment with your own candy decorations to add a personal touch to the final presentation. Enjoy the process of creating these chocolate delicacies and sharing them with friends. The combination of intense dark chocolate and festive flair guarantees these treats disappear from the platter quickly, leaving everyone asking for the recipe.
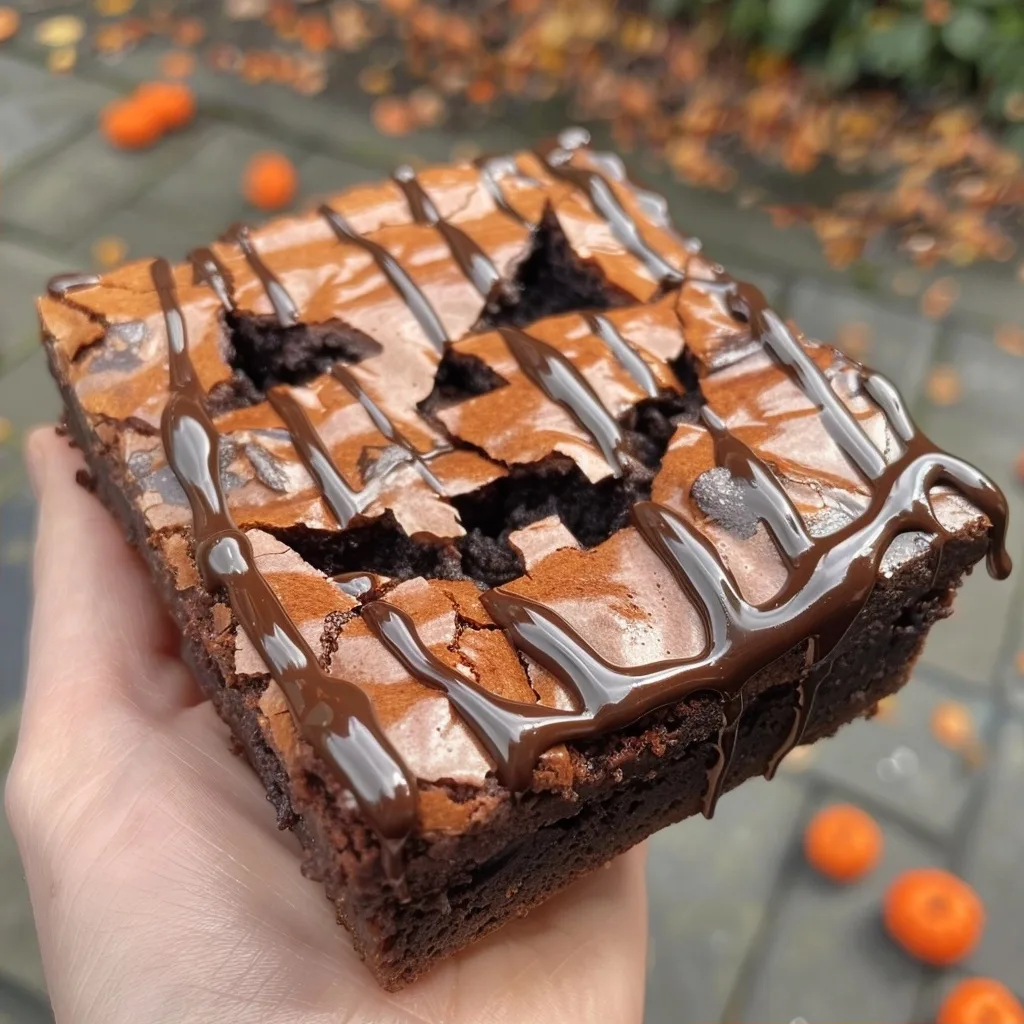
Decadent Halloween Fudgy Brownies
Ingredients
Method
- Preheat your oven to 350 degrees Fahrenheit and line a 9x9 inch baking pan with parchment paper.
- Whisk the melted butter and granulated sugar in a large bowl until smooth.
- Add the eggs one at a time, whisking thoroughly after each addition.
- Stir in the vanilla extract until fully incorporated.
- Sift the flour, cocoa powder, and salt together in a separate bowl.
- Fold the dry ingredients into the wet mixture just until streaks disappear.
- Pour the batter into the prepared pan and smooth the top.
- Bake for 30 minutes or until a toothpick comes out with a few moist crumbs.
- Cool completely before drizzling with melted orange candy melts to create spiderweb patterns.