Introduction
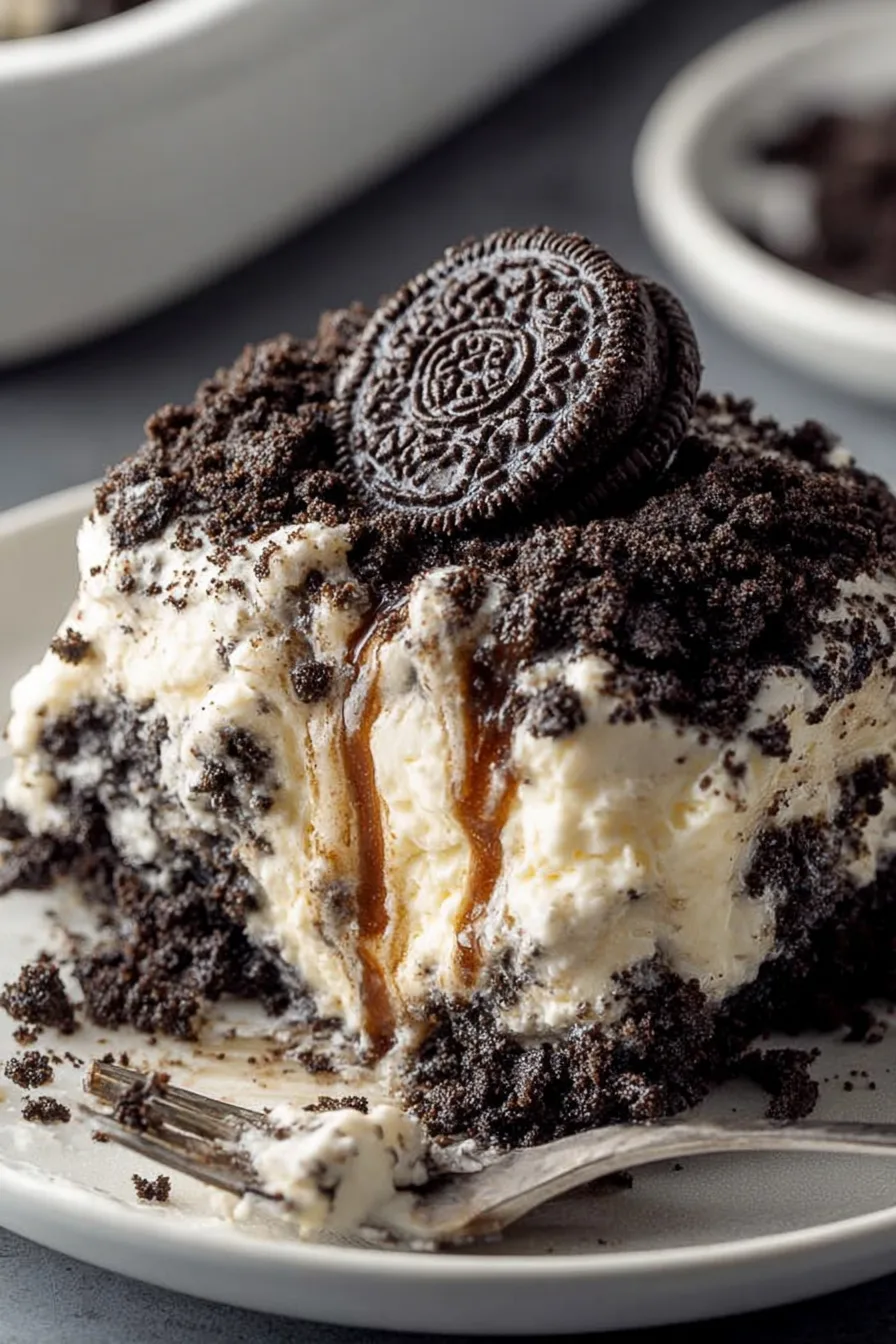
Welcome to the delightful world of oreo dirt cake! This classic no-bake dessert brings together crushed Oreos and luscious, creamy layers for an irresistible treat. It is perfect for parties, family gatherings, or simply satisfying your sweet tooth with minimal effort. Get ready to create a dessert that’s both fun to make and guaranteed to disappear fast, leaving everyone asking for more of this iconic cookie crumble delight.
Table of Contents
Why You’ll Love This Oreo Dirt Cake
This classic cookie crumble dessert is a favorite for many great reasons.
- Super easy, no-bake assembly: No oven required, making it perfect for any skill level.
- Crowd-pleasing for all ages: Kids and adults alike adore the fun layers and sweet taste.
- Versatile for decorating and holidays: Add gummy worms, candy corn, or sprinkles to match any theme.
- Convenient make-ahead dessert: Prepare it hours or even a day in advance for stress-free entertaining.
- Rich, creamy texture with chocolatey crunch: Every spoonful offers a delightful mix of smooth pudding and crunchy cookie bits.
Ingredients
Crafting this delightful oreo dirt cake requires simple, readily available ingredients that combine to create magic. You will need:
- 14 ounces Oreos: One standard package, for the iconic “dirt” layers.
- 4 tablespoons butter, softened: Unsalted is preferred, but salted works too.
- 8 ounces cream cheese, softened: Full-fat for the best texture and richness.
- 1 cup confectioners sugar: Also known as powdered sugar, for sweetness and smooth consistency.
- 3 1/2 cups milk: 2% or whole milk yields a creamier result.
- 2 large boxes instant vanilla pudding (10.2 ounces total): Do not use cook-and-serve.
- 12 ounces Cool Whip: Or 1 1/2 small containers of your favorite whipped topping.
Notes & Substitutions
Feel free to personalize your oreo dirt cake. Use any flavor of Oreos, such as chocolate, mint, or golden, for a unique twist. Always ensure you select instant pudding mix; cook-and-serve varieties will not set properly for this recipe. You can easily substitute vanilla pudding with French vanilla, cheesecake, or even chocolate pudding for a different flavor profile. Generic whipped topping works perfectly in place of Cool Whip. Remember that softened butter and cream cheese are crucial for a smooth, lump-free filling. For more on this, understand why softening cream cheese is important in baking. Adjust milk fat content as desired, and consider adding a tablespoon or two of sweetened condensed milk to the cream cheese mixture for an extra sweet filling.
Equipment
Gathering your tools beforehand ensures a smooth preparation process for your no-bake treat.
- Food processor: Essential for finely crushing the Oreos quickly and efficiently.
- Electric hand mixer: Makes creaming the butter and cream cheese effortless.
- Large mixing bowls: You will need at least two for combining different elements.
- 9×13 inch baking dish: A clear glass dish is recommended to showcase the layers.
- Silicone spatula or spoon: Helpful for scraping bowls and spreading layers.
Instructions
Making this fantastic oreo dirt cake is surprisingly simple and fun. Just follow these steps:
- Crush the Oreos: Use a food processor to finely crush the entire package of Oreos. Aim for a fine crumb texture, similar to dirt. Sprinkle half of the crushed Oreos evenly across the bottom of an ungreased 9×13 inch pan. Set the remaining crushed Oreos aside for later. This forms the first “dirt” layer of your delicious dessert.
- Prepare the Cream Cheese Layer: In a large mixing bowl, use an electric mixer to cream together the softened butter, softened cream cheese, and confectioners sugar until the mixture is light, fluffy, and completely smooth. Scrape down the sides of the bowl as needed to ensure everything is well combined.
- Mix the Pudding: In a separate large bowl, whisk together the instant vanilla pudding mix and the milk. Continue whisking for about two minutes, or until the mixture begins to thicken. It will still be somewhat loose but should be noticeably thicker than plain milk.
- Fold in Cool Whip: Gently fold the entire container of Cool Whip into the thickened pudding mixture. Use a spatula to combine it carefully, retaining as much air as possible for a light, airy texture.
- Combine Layers: Add spoonfuls of the creamed butter and cream cheese mixture to the pudding and Cool Whip mixture. Mix everything until it is well combined and smooth, creating a uniform, creamy filling for your oreo dirt cake.
- Assemble the Cake: Carefully pour the prepared creamy filling mixture over the Oreo layer in the 9×13 inch pan. Use your silicone spatula to spread the filling evenly, ensuring it covers the entire cookie base.
- Final Topping & Chill: Sprinkle the remaining crushed Oreos generously over the top of the creamy filling layer. Cover the dish tightly with plastic wrap. Chill the oreo dirt cake thoroughly in the refrigerator for at least 4 hours, or preferably overnight, before serving. This allows the layers to set and flavors to meld beautifully.
Pro Tips & Troubleshooting
Achieving the perfect oreo dirt cake is easy with a few key pointers. Always ensure your cream cheese and butter are completely softened to room temperature; this prevents lumps in your creamy filling. Crush the Oreos uniformly in a food processor for the best “dirt” texture throughout the dessert. Remember to always use instant pudding mix; cook-and-serve varieties will not provide the necessary setting power. Chill the dirt cake for at least 4 hours, or ideally overnight, allowing it to firm up properly and flavors to fully develop. Avoid overmixing the pudding layer once the Cool Whip is added, as this can deflate its airy texture. To prevent soggy Oreos, you can chill the creamy layers separately and assemble the dessert just before serving, though chilling overnight rarely causes issues. Do not freeze this dessert; the texture will significantly change upon thawing.
Serving, Storage & Variations
This delightful no-bake treat offers plenty of flexibility in how you serve and store it.
Serving Suggestions
Serve your fantastic oreo dirt cake directly from the 9×13 inch pan for easy sharing. For individual portions, layer the ingredients in clear cups to create charming “dirt cups,” perfect for parties. You can also layer the entire recipe in a trifle dish for a more elegant presentation, showcasing all the delicious layers. Garnish with fun additions like gummy worms, candy flowers, or small chocolate rocks to enhance the “dirt” theme. Customize it for holidays by adding seasonal candies, such as Peeps for Easter or Halloween-themed candies.
Storage Instructions
Store any leftover oreo dirt cake covered tightly with plastic wrap in the refrigerator. It will stay fresh and delicious for up to 3 days, though it is best enjoyed within 2 days for optimal texture. Freezing is not recommended for this dessert, as the pudding and whipped topping can become watery and grainy once thawed, compromising its creamy consistency. For optimal food safety, keep perishable desserts like this out of the temperature danger zone (41°F – 135°F).
Nutrition
Enjoying a serving of this delicious oreo dirt cake means indulging in a balanced treat.
| Nutrient | Amount |
|---|---|
| Calories | 230 kcal |
| Carbohydrates | 27 g |
| Protein | 3 g |
| Fat | 12 g |
| Saturated Fat | 6 g |
| Cholesterol | 25 mg |
| Sodium | 157 mg |
| Potassium | 108 mg |
| Fiber | 1 g |
| Sugar | 19 g |
| Vitamin A | 321 IU |
| Calcium | 84 mg |
| Iron | 1 mg |
Disclaimer: These are estimated nutritional values per serving and can vary based on specific brands used, exact measurements, and modifications. This information is intended for informational purposes only.
FAQ
- Can I use chocolate pudding instead of vanilla? Yes, you can! While vanilla offers a nice contrast, chocolate pudding creates a richer, more uniform chocolate experience for your oreo dirt cake.
- Can I use cook and serve pudding? No, instant pudding is essential for this recipe. Cook and serve varieties require heat to thicken and will not set properly in this no-bake application.
- Do I remove the cream filling from the Oreos? No, crush the whole Oreos, including the cream filling. This adds to the texture and sweetness of the “dirt” layers.
- Can oreo dirt cake be frozen? Freezing is not recommended. The texture of the pudding and whipped topping can become watery and grainy once thawed, negatively impacting the dessert.
- How long does dirt cake last in the refrigerator? It lasts up to 3 days when covered, but it’s best enjoyed within the first 2 days for peak freshness and texture.
- What size pudding boxes are best? Using two large boxes, totaling 10.2 ounces, ensures the creamy layer is robust and sets well.
- Is melted butter mixed with the Oreos for a crust? No, for this recipe, the butter is incorporated into the creamy filling, not with the Oreo crumbs for a crust.
Conclusion
You now have all the knowledge to create an incredibly simple, yet utterly delightful oreo dirt cake. This no-bake wonder, with its layers of crunchy Oreos and rich, creamy filling, truly is a crowd-pleasing classic that brings joy to any occasion. Its ease of preparation and versatility make it perfect for beginners and seasoned bakers alike. Don’t hesitate to try this fantastic recipe; you’ll love how quickly it comes together and how deliciously it disappears. Share your creations and enjoy every last bite of this iconic dessert!
Easy No-Bake Oreo Dirt Cake Recipe
Ingredients
Equipment
Method
- Crush Oreos in a food processor, then sprinkle half into a 9x13 inch pan, reserving the rest.
- Cream softened butter, cream cheese, and confectioners sugar together using an electric mixer.
- In a separate bowl, whisk instant vanilla pudding and milk until combined.
- Gently fold the Cool Whip into the pudding mixture.
- Combine the creamed butter mixture with the pudding mixture, then pour over the Oreos in the pan.
- Finally, sprinkle the reserved crushed Oreos over the top of the cake.