Introduction
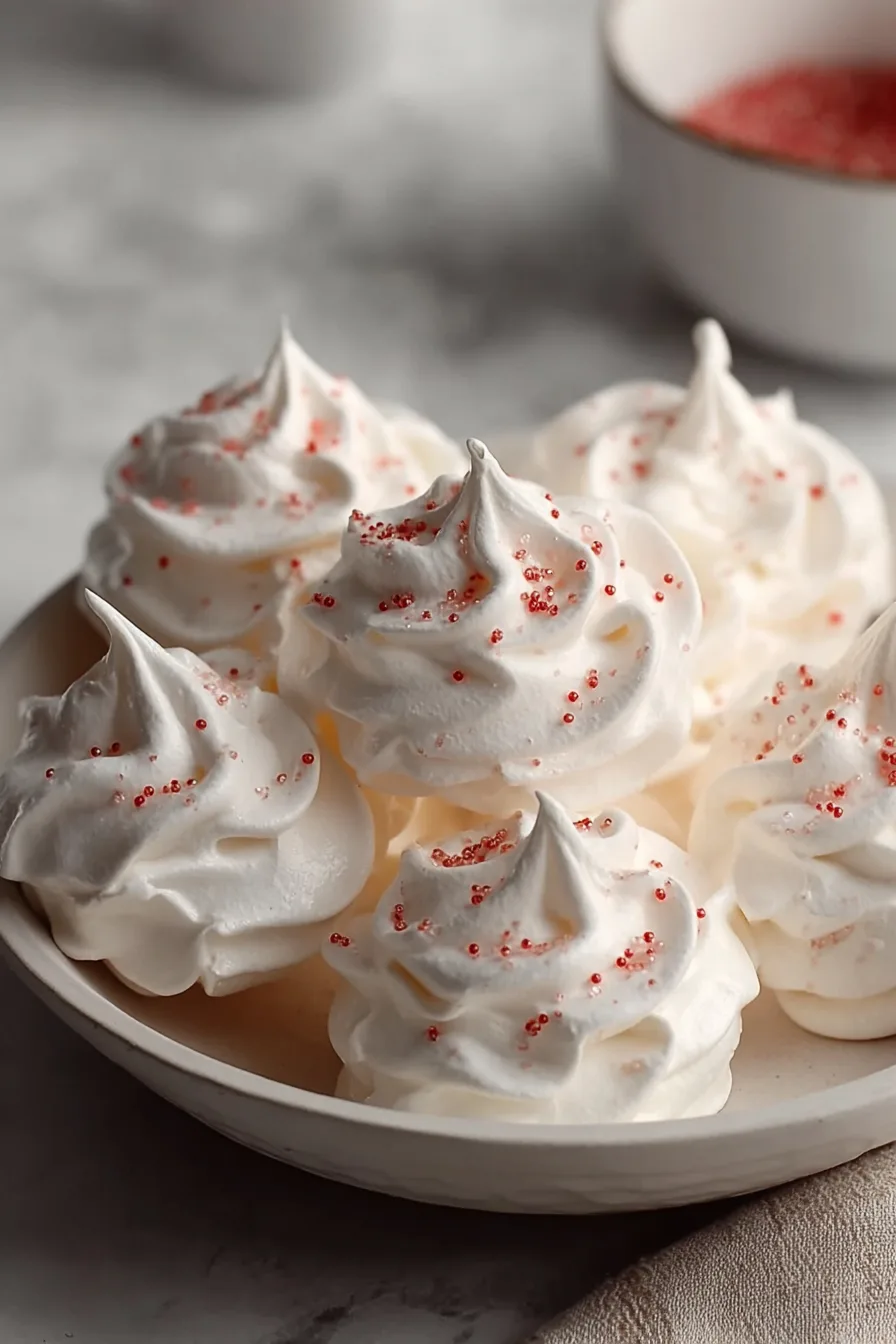
Step into the magical holiday season with a treat that’s as beautiful as it is delicious! Our Christmas Meringue Kisses are the epitome of festive cheer, offering a light, airy crunch that simply melts in your mouth. This simple recipe ensures even beginner bakers can create stunning, colorful confections. They are perfect for holiday platters, edible gifts, or simply adding a touch of sweetness to your celebrations.
Table of Contents
Why You’ll Love This Christmas Meringue Kisses Recipe
You’ll adore making these delightful Christmas Meringue Kisses for so many reasons, making them a holiday staple!
- Beginner-Friendly: This recipe is designed for ease, ensuring beautiful results even if you’re new to baking.
- Visually Stunning: With vibrant red and green swirls, these meringues add a spectacular pop of color to any festive spread.
- Highly Customizable: Easily change up the colors, flavors, or sprinkles to match your specific holiday theme.
- Perfect for Gifting: Pack them into cute bags or boxes for charming homemade presents your loved ones will cherish.
- Melt-in-Your-Mouth Texture: Each bite delivers a satisfying crisp exterior followed by a delicate, airy interior.
Ingredients
Gather these simple ingredients to create your festive meringue masterpieces:
- 300 grams caster sugar: Fine-grained sugar is essential for a smooth meringue.
- 150 grams egg whites: Roughly 5 medium eggs, at room temperature for best results.
- Gel food coloring (red and green): For vibrant holiday hues.
- Edible silver balls (optional): To add a touch of sparkle.
Notes & Substitutions
Caster sugar is ideal here because its fine crystals dissolve quickly into the egg whites, ensuring a smooth, stable meringue. If you only have granulated sugar, pulse it briefly in a food processor until it’s finer, but avoid making it powdered sugar. Always use fresh egg whites for the best rise and stability; older eggs may not whip as well. Gel food coloring is critical for achieving bright, deep colors without adding too much moisture, which can destabilize your meringue. Liquid food coloring can thin the mixture. While not in the main ingredients, a tiny pinch of cream of tartar or a drop of lemon juice can help stabilize the egg whites during whipping, though it’s often not strictly necessary if your bowl is perfectly clean. Feel free to swap edible silver balls for other festive sprinkles like gold stars, snowflakes, or colorful nonpareils.
Equipment
Having the right tools makes all the difference for perfect meringues.
- Electric mixer: Either a stand mixer with a whisk attachment or a powerful hand-held mixer.
- Large mixing bowl: Ensure it’s perfectly clean and grease-free, preferably metal or glass.
- Piping bags: Two are needed for separate colors.
- Star piping tip: A large open star tip (like Wilton 1M) creates beautiful shapes.
- Baking sheets: At least two large ones.
- Parchment paper: Essential for non-stick baking and easy removal.
- Small paintbrush: For painting stripes of gel food coloring inside the piping bags.
Instructions
Creating these beautiful Christmas Meringue Kisses is an enjoyable process. Follow these steps carefully for success!
Start by preheating your oven. Place the 300 grams of caster sugar into an oven-safe dish and put it into a hot oven (220C/200C fan) for about 5 minutes. The goal is to warm the sugar, not melt it, which helps it dissolve better into the egg whites for a glossier meringue. While the sugar warms, prepare your baking sheets. Place a small dollop of meringue mixture in each corner of your baking sheets to help secure the parchment paper. Then, line the trays with parchment paper, pressing it down onto the meringue dots to keep it flat.
Remove the warm sugar from the oven immediately. In a large, impeccably clean mixing bowl, begin whisking the 150 grams of room temperature egg whites. Start on medium speed until they become frothy, then increase the speed. Continue whisking until the egg whites form soft peaks that hold their shape.
Once you have soft peaks, turn your whisk speed to maximum. Begin adding the warm sugar one spoonful at a time, slowly incorporating it into the egg whites. Wait until the meringue forms stiff peaks again before adding the next spoonful of sugar. This gradual addition is key to building a strong, stable meringue. Once all the sugar is incorporated, continue whisking on high for another 5 minutes. The mixture should be very thick, firm, and glossy, holding incredibly stiff peaks when you lift the whisk. This stage is crucial for perfectly structured Christmas Meringue Kisses.
Now, prepare your piping bags. Take two piping bags and, using a small, clean paintbrush, paint vertical red and green stripes inside each bag with your gel food coloring. This technique creates beautiful striped Christmas Meringue Kisses. Carefully fill each striped piping bag with the meringue mixture. Cut a large opening at the bottom of each bag if you are not using a specific piping tip. If using a star tip, ensure it’s securely in place before filling.
Begin piping your meringue kisses onto the prepared baking sheets. Hold the piping bag upright, about an inch above the parchment paper. Squeeze gently to create a base, then lift straight up as you gradually stop applying pressure, creating a peak. Repeat this motion, spacing your meringues about an inch apart on the baking sheet. Decorate with edible silver balls or other festive sprinkles immediately after piping, before baking.
Bake the meringues in the center of your oven at a low temperature of 100C/80C fan for 30-45 minutes. The exact time will depend on your oven and the size of your meringues. They are ready when they feel firm to the touch and lift easily off the parchment paper without leaving any sticky residue behind. Turn off the oven, but leave the meringues inside with the door slightly ajar for at least an hour, or even overnight, to cool completely and dry out properly. This prevents cracking and ensures a perfectly crisp texture. Only remove them from the oven once fully cooled.
Make Ahead & Storage
Christmas Meringue Kisses are excellent for making in advance, perfect for reducing holiday stress. Once completely cool and dry, store them in an airtight container at room temperature. Learning how to combat moisture is essential for preserving their delicate structure. Humidity is the enemy of meringues, so avoid refrigerating them. Stored correctly, they will maintain their crisp texture and delicious flavor for up to two weeks, making them a fantastic make-ahead option for your holiday entertaining.
Pro Tips for Perfect Christmas Meringue Kisses
Achieving perfect, crisp meringues is simple with a few key techniques.
- Grease-Free Zone: Ensure your mixing bowl, whisk, and any utensils are impeccably clean and completely free of grease. Understanding the molecular reactions is key to successful baking; even a tiny speck of fat can prevent egg whites from whipping properly. Learn more about the science of whipping egg whites.
- Room Temperature Eggs: Use egg whites at room temperature. They whip up faster and achieve greater volume than cold eggs, leading to a lighter, airier meringue.
- Gradual Sugar Addition: Add the warm sugar slowly, one tablespoon at a time. This allows the sugar to fully dissolve and stabilize the egg whites, preventing a gritty texture and ensuring a stable meringue.
- Stiff, Glossy Peaks: Don’t stop whisking until your meringue is thick, firm, and glossy, holding stiff peaks that don’t flop when you lift the whisk. This indicates a properly formed, stable meringue that will hold its shape.
- Low and Slow Bake: Meringues don’t bake; they dry out. A low oven temperature is crucial to dry them out slowly without browning or cracking them.
- Cool Completely: Allow your meringues to cool completely inside the oven with the door ajar. This gradual cooling prevents them from cracking and collapsing, ensuring they stay crisp.
Common Meringue Mistakes to Avoid
Steer clear of these common pitfalls for successful meringues every time.
- Greasy Bowls: Never use a bowl that has any residue of fat; it will prevent your egg whites from whipping up.
- Liquid Food Coloring: Avoid liquid food coloring. It adds too much moisture, which can make your meringue weep or deflate.
- High Baking Temperature: Baking meringues too hot will cause them to brown, crack, and become chewy instead of crisp.
- Opening Oven Door: Resist the urge to open the oven door during the drying process, as sudden temperature changes can cause cracking.
- Not Cooling Properly: Removing meringues from the oven before they are completely cool can lead to cracks and a chewy texture.
Serving Suggestions & Variations
These delightful Christmas Meringue Kisses are versatile and fun! Serve them simply on a festive platter as a stand-alone treat, showcasing their beautiful colors and sparkle. They also make charming cupcake toppers or elegant edible decorations for a holiday cake. For a delightful dessert, crush some meringues and fold them into whipped cream, ice cream, or layer them in a trifle for added crunch and sweetness.
Experiment with different flavors and colors to match any celebration. For flavor variations, try adding a few drops of peppermint extract for a refreshing twist, almond extract for a delicate nutty note, or scraped vanilla bean seeds for an elevated classic vanilla taste. Change up the colors by using blue and silver for a winter wonderland theme, elegant gold for New Year’s, or pretty pinks for a Valentine’s Day treat. You can even infuse them with warm holiday spices like a pinch of ground cinnamon or ginger for a cozy touch.
Nutrition Information
These light and airy meringues offer a sweet treat with minimal fat. Per serving, these Christmas Meringue Kisses provide a small calorie count, primarily from sugar, making them a delicate indulgence.
| Nutrition | Value | Unit |
|---|---|---|
| Calories | 21.3 | kcal |
| Carbohydrates | 5.02 | g |
| Protein | 0.27 | g |
| Fat | 0.01 | g |
| Saturated Fat | 0.01 | g |
| Sodium | 4.15 | mg |
| Potassium | 4.08 | mg |
| Sugar | 5.02 | g |
| Calcium | 0.17 | mg |
| Iron | 0.01 | mg |
| Serving Size | 1 | serving |
These figures represent a light, sweet treat that can fit into most holiday menus. For those looking to reduce sugar, explore sugar-free sweeteners designed for baking, though results may vary.
Frequently Asked Questions (FAQ)
- Why are my meringues sticky/chewy? This often happens if they haven’t been dried out long enough in a low oven, or if they were exposed to humidity. Ensure they are fully crisp before removing and store them in an airtight container.
- Can I make these in different shapes? Absolutely! You can use different piping tips to create rosettes, swirls, or even log shapes. Get creative with your Christmas Meringue Kisses!
- How do I get vibrant colors? Always use gel food coloring. It’s highly concentrated, so you only need a tiny amount to achieve bright, festive hues without adding excess moisture.
- Can I freeze meringue kisses? Freezing meringues is not recommended. The moisture from thawing can make them soft and sticky, ruining their delicate texture.
- What to do with leftover egg yolks? Don’t let them go to waste! Use leftover egg yolks to make a delicious hollandaise sauce, custard, lemon curd, or a rich crème brûlée.
Conclusion
Whipping up a batch of homemade Christmas Meringue Kisses truly adds a touch of magic to your holiday season. Their delicate crunch, sweet flavor, and festive appearance make them an irresistible treat for any celebration. We hope you feel inspired to try this simple, beginner-friendly recipe and fill your home with holiday cheer. Share your beautiful creations with us, and don’t hesitate to leave a comment if you have any questions. Happy holidays and happy baking from Victoria Taylor!
Festive & Fun: Easy Christmas Meringue Kisses Recipe
Ingredients
Equipment
Method
- Heat the caster sugar in an oven dish at 220C/200C for about 5 minutes until hot but not melted.
- Immediately remove the hot sugar from the oven and begin whisking egg whites in a large bowl until they form stiff peaks.
- While whisking at maximum speed, gradually add the warm sugar, one spoon at a time, ensuring stiff peaks form after each addition.
- Once all sugar is incorporated, continue whisking on high for another 5 minutes until the mixture is thick, firm, and glossy.
- Prepare two piping bags by painting red and green stripes of gel food colouring inside each, then fill with the meringue mixture.
- Cut a large opening at the bottom of each bag. Pipe a small amount of meringue onto a large baking tray corners to secure greaseproof paper.
- Starting from the top left, pipe meringue kisses by holding the bag upright, gently squeezing, and lifting away as pressure is released. Repeat until the tray is full.
- Bake the meringues in the center of the oven at 100C/80C for 30-45 minutes, or until they easily lift off the baking paper.
- Allow the meringue kisses to cool completely before serving.