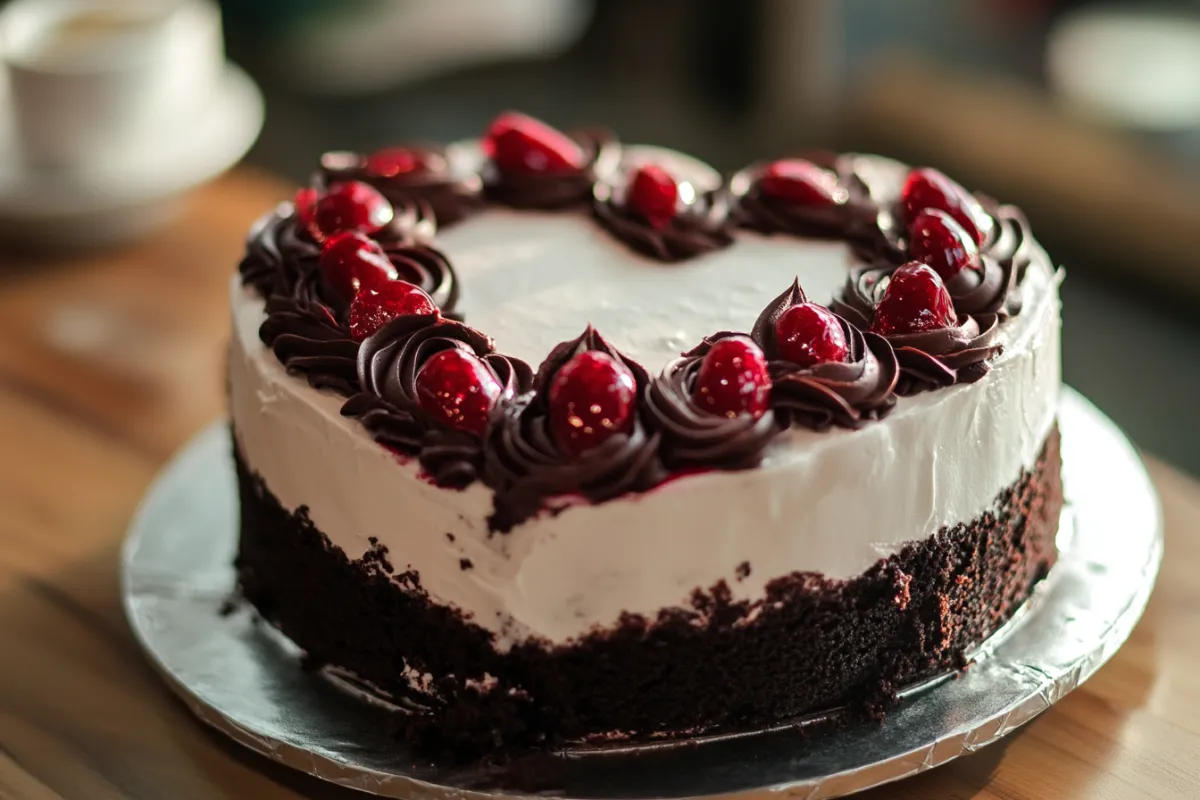
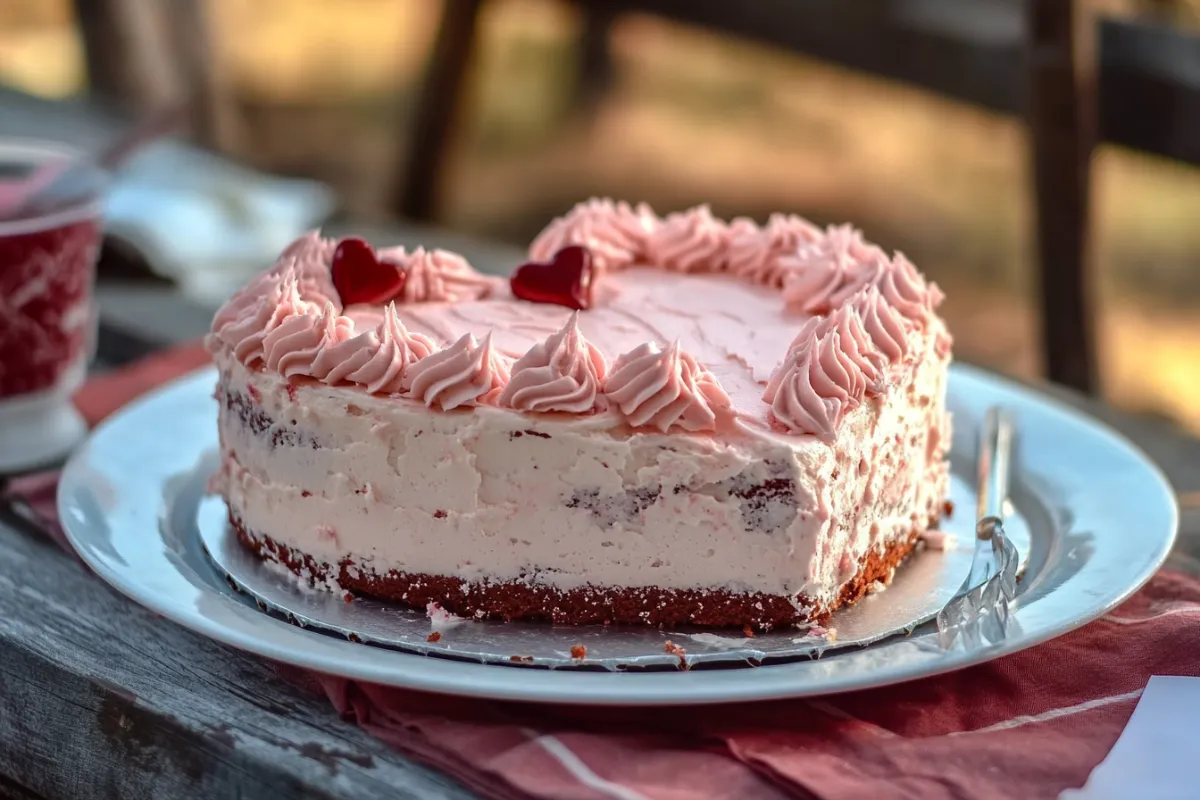
Heart cakes are a charming and thoughtful way to celebrate special occasions such as Valentine’s Day, anniversaries, or even birthdays. Their unique shape and the love that goes into baking them make these cakes a symbol of affection and care. In this comprehensive guide, we’ll explore everything you need to know about making a heart-shaped cake from scratch. Whether you’re a seasoned baker or just starting, this guide will provide you with step-by-step instructions, tips, and tricks to create the perfect heart cake. We’ll cover essential tools and ingredients, the baking process, decoration techniques, and even answer some frequently asked questions. By the end of this guide, you’ll be ready to bake a heart cake that’s not only beautiful but also delicious.
Essential Tools and Ingredients
Tools for Making a Heart Cake
Creating a heart cake requires some specific tools that will make the process easier and ensure your cake turns out perfectly shaped and well-decorated. Here’s a list of the essential tools you’ll need:
- Heart-shaped cake pan: The easiest way to achieve the heart shape is by using a heart-shaped pan. These pans come in various sizes, so choose one based on your desired cake size.
- Round and square cake pans: If you don’t have a heart-shaped pan, don’t worry! You can still create a heart-shaped cake using a combination of round and square pans. This method is versatile and allows for creativity in cake design.
- Mixer: A good quality mixer is essential for mixing your cake batter to a smooth consistency. Whether you prefer a stand mixer or a hand mixer, ensure it has enough power to handle your batter without overworking it.
- Spatula: A spatula is indispensable for scraping down the sides of your mixing bowl, ensuring all ingredients are well incorporated.
- Piping bags and tips: These are crucial for decorating your cake. Piping bags allow you to create beautiful designs with frosting, while different tips offer various patterns such as rosettes, ruffles, and borders.
- Offset spatula: This tool is perfect for spreading frosting smoothly over your cake, helping you achieve a professional finish.
- Cake turntable: Although optional, a cake turntable makes decorating much easier, allowing you to rotate the cake while applying frosting or decorations.
If you don’t have a heart-shaped pan and want to try creating a heart cake using a round and square pan, you can find detailed instructions on how to do so in this guide. This method is not only fun but also allows you to make heart cakes of different sizes depending on your pans.

Ingredients Needed
The ingredients for a heart cake are similar to those for any standard cake, but you can customize the flavors and colors to suit your preferences or the occasion. Here’s a basic list of ingredients for a classic heart cake:
- All-purpose flour: The base of your cake, providing structure.
- Granulated sugar: Adds sweetness and helps retain moisture.
- Eggs: Essential for binding the ingredients and adding richness.
- Butter: Provides flavor and moisture, making your cake tender.
- Baking powder: Helps the cake rise and become fluffy.
- Vanilla extract: Adds a subtle, sweet flavor that enhances the overall taste.
- Milk: Adds moisture and helps create a smooth batter.
For a chocolate heart cake, add cocoa powder to the dry ingredients. If you’re making a red velvet heart cake, include red food coloring and a touch of cocoa powder in the batter. Fresh strawberries or raspberries can also be added to the batter or used as a filling to complement the cake’s flavor.
For more creative Valentine’s Day dessert ideas and flavor variations, you might want to explore this article by Martha Stewart, which offers a wealth of inspiration.
Step-by-Step Guide to Making a Heart Cake
1. Preparing the Batter
The first step in making a heart cake is preparing the batter. Whether you’re opting for a classic vanilla, decadent chocolate, or vibrant red velvet, the process is relatively straightforward.
- Measuring the ingredients: Start by measuring all your ingredients accurately. Baking is a science, so precision is key to achieving the perfect texture and flavor.
- Creaming the butter and sugar: In your mixer, cream the butter and sugar together until the mixture is light and fluffy. This process helps to incorporate air into the batter, resulting in a lighter cake.
- Adding the eggs: Add the eggs one at a time, mixing well after each addition. This ensures the eggs are fully incorporated and prevents the batter from curdling.
- Mixing the dry ingredients: In a separate bowl, sift together the flour, baking powder, and any other dry ingredients (like cocoa powder for chocolate cake). Sifting helps to aerate the flour and removes any lumps.
- Combining the wet and dry ingredients: Gradually add the dry ingredients to the wet mixture, alternating with milk. Begin and end with the dry ingredients to maintain a stable emulsion, which will result in a tender cake.
- Final mixing: Mix the batter just until the ingredients are combined. Overmixing can lead to a tough cake, so stop as soon as you don’t see any more streaks of flour.
The consistency of the batter should be smooth and thick, but still pourable. If you’re adding food coloring, like in a red velvet cake, this is the time to mix it in. Ensure the color is evenly distributed for a consistent hue throughout the cake.
2. Shaping the Heart Cake
Now that your batter is ready, it’s time to shape your heart cake. There are two main methods to achieve the heart shape, depending on the pans you have available.
- Using a Heart-Shaped Pan: If you have a heart-shaped pan, your task is relatively easy. Simply pour the batter into the greased and floured pan, then gently tap it on the counter to remove any air bubbles. This helps the batter settle evenly and prevents large holes in your cake.
- Using Round and Square Pans: If you’re using a round and square pan, here’s how to create the heart shape:
- Bake two cakes—one in a round pan and one in a square pan.
- Allow the cakes to cool completely in the pans. This step is crucial because warm cakes are fragile and can crumble easily when handled.
- Once cooled, cut the round cake in half to create two semicircles.
- Position the square cake so that one corner points downwards, forming a diamond shape.
- Place the two semicircles on the top two sides of the diamond to form a heart.
This method is perfect for those who don’t have a heart-shaped pan or want to make a larger cake. It’s also a fun and creative way to involve kids in the baking process, as they can help piece the cake together.
3. Baking the Cake
Baking is where the magic happens. To ensure your heart cake bakes evenly and comes out perfectly, follow these steps:
- Preheat the oven: Set your oven to 350°F (175°C). It’s important to preheat your oven so that the cake bakes at the correct temperature from the start.
- Prepare the pans: Grease and flour your cake pans thoroughly to prevent the cake from sticking. If you’re worried about the cake sticking, you can also line the bottom of the pan with parchment paper.
- Bake the cake: Place the pans in the oven and bake for 25-30 minutes. The exact baking time will depend on your oven and the size of the pans. To check if the cake is done, insert a toothpick or cake tester into the center of the cake. If it comes out clean or with just a few crumbs, the cake is ready.
- Cooling the cake: Once baked, allow the cakes to cool in the pans for about 10 minutes. Then, turn them out onto a wire rack to cool completely. Cooling the cake completely is essential before decorating, as warm cake can cause the frosting to melt and slide off.
Properly baked and cooled, your heart cake is now ready for the fun part—decorating!
Decorating Ideas and Techniques
Basic Frosting Techniques
Decorating a heart cake can be as simple or as elaborate as you like. Whether you prefer a minimalist look or something more detailed, here are some basic frosting techniques to get you started:
- Crumb coat: Before applying the final layer of frosting, it’s a good idea to apply a crumb coat. This is a thin layer of frosting that helps trap any loose crumbs, creating a smooth surface for your final coat. To apply the crumb coat, spread a thin layer of frosting over the entire cake using an offset spatula. Don’t worry if some crumbs get mixed in—it’s all part of the process.
- Final frosting layer: Once the crumb coat has set (you can refrigerate the cake for 15-20 minutes to help it firm up), apply the final layer of frosting. Use a generous amount of frosting and spread it evenly with your offset spatula. For a smooth finish, dip the spatula in hot water, wipe off the excess, and then glide it over the frosting.
- Textured finishes: If you prefer a textured finish, use the back of a spoon or a spatula to create swirls, waves, or peaks in the frosting. This technique adds a rustic charm to your cake and is perfect for those who want a less polished look.
Advanced Decoration Techniques
If you’re looking to take your heart cake to the next level, consider these advanced decoration techniques:
- Fondant covering: Fondant is a smooth, pliable icing that can be rolled out and draped over your cake for a flawless finish. To use fondant, roll it out on a surface dusted with powdered sugar until it’s large enough to cover your cake. Carefully lift the fondant and drape it over the cake, smoothing it down with your hands or a fondant smoother. Trim away any excess with a sharp knife.
- Piping designs: Piping is a fantastic way to add intricate details to your heart cake. Fill a piping bag fitted with a tip of your choice (such as a star tip for rosettes or a round tip for dots) with frosting. Practice on a piece of parchment paper first to get the hang of it, then start piping directly onto the cake. Popular designs include rosettes, ruffles, and lace patterns.
- Edible decorations: Enhance the look of your heart cake with edible decorations like sprinkles, candies, or edible glitter. You can also use fresh fruits like strawberries, raspberries, or cherries for a pop of color and added flavor.
Themed Decoration Ideas
Depending on the occasion, you can customize your heart cake with different themes and decorations:
- Valentine’s Day: Stick with classic red and pink colors, and consider adding heart-shaped sprinkles, edible glitter, or even a hand-piped message like “Be Mine” on top of the cake.
- Anniversaries: Use elegant decorations like fondant roses or gold leaf. You can also personalize the cake with the couple’s initials or the number of years they’ve been together.
- Birthdays: Go for bright, fun colors and playful decorations like balloons, confetti, or a favorite cartoon character.
By using these techniques, you can create a heart cake that’s not only delicious but also visually stunning.
Tips and Tricks
Common Mistakes to Avoid
Even with the best intentions, mistakes can happen. Here are some common pitfalls to watch out for when making a heart cake, and how to avoid them:
- Overmixing the batter: Overmixing can cause the cake to become dense and tough. To avoid this, mix just until the ingredients are combined, and no more.
- Not allowing the cake to cool completely: Decorating a warm cake can be disastrous, as the frosting will melt and slide off. Be patient and let the cake cool completely before you start decorating.
- Using too much frosting at once: When applying the crumb coat, use a light hand. Too much frosting can make the cake look bulky and uneven.
Expert Tips for a Perfect Heart Cake
Want to make sure your heart cake is the best it can be? Here are some expert tips to keep in mind:
- Sharp edges: To achieve sharp edges on your heart-shaped cake, chill the cake in the refrigerator after applying the crumb coat. Once it’s firm, you can apply the final coat of frosting more precisely.
- Smooth frosting: For a smooth frosting finish, dip your offset spatula in hot water, wipe off the excess, and then use it to smooth the frosting. The heat helps to glide the spatula over the frosting, eliminating any ridges or lines.
- Working with fondant: If you’re using fondant, keep it covered with plastic wrap when not in use to prevent it from drying out. If the fondant becomes too stiff, knead it with a little shortening to soften it up.
By following these tips, you’ll be well on your way to creating a flawless heart cake that will impress everyone.
Frequently Asked Questions
How can I make a heart cake without a special pan?
You can make a heart cake without a special pan by using a round and a square pan. After baking, cut the round cake in half and place the halves against the square cake to form a heart shape. This method is not only easy but also allows for flexibility in the size of your cake.
What’s the best way to store a heart cake?
To store your heart cake, keep it in an airtight container at room temperature for up to three days. If your cake contains perishable fillings or frosting, such as whipped cream or fresh fruit, store it in the refrigerator. When refrigerating, allow the cake to come to room temperature before serving to enhance the flavor and texture.
Can I make a heart cake gluten-free?
Yes, you can make a heart cake gluten-free by substituting the all-purpose flour with a gluten-free flour blend. Ensure that the blend you use is a 1:1 substitute for regular flour, which will provide the best results. You may also want to add a teaspoon of xanthan gum if your blend doesn’t already include it, as this helps to mimic the structure provided by gluten.
How do I prevent my heart cake from sticking to the pan?
To prevent your heart cake from sticking to the pan, grease the pan thoroughly with butter or non-stick spray and then dust it with flour. Alternatively, you can line the bottom of the pan with parchment paper, which ensures easy removal. For intricate pans, such as those with heart shapes, be extra diligent in greasing all the crevices.
What are some creative decoration ideas for a heart cake?
For a creative twist on the classic heart cake, consider decorating it with ombre frosting, where the color gradually changes from dark to light. Another idea is to create a floral pattern using edible flowers or piped buttercream flowers. You can also try a drip effect by pouring ganache over the top of the cake and letting it drip down the sides.
Conclusion
Making a heart cake is a delightful and rewarding way to celebrate love and special occasions. Whether you’re baking for Valentine’s Day, an anniversary, or just because, this guide has provided you with everything you need to create a beautiful and delicious cake. From selecting the right tools and ingredients to mastering decorating techniques, you’re now equipped to bake a heart cake that will impress your loved ones.
Remember, the key to a successful heart cake is to take your time and enjoy the process. Don’t be afraid to experiment with flavors, colors, and decorations to make the cake your own. And most importantly, have fun in the kitchen! Your heart cake is sure to be the highlight of any celebration, a sweet symbol of love that will be remembered long after the last slice is gone.
So go ahead, gather your ingredients, preheat your oven, and start baking. With a little practice and a lot of love, your heart cake will turn out perfect every time.

